Congratulations on your new Spyder X2!
You can download the software for your Spyder X2 from this page, view the Quick Start guide for your product, plus find helpful links to User Guides and additional support.
Set up for Success
Here are some helpful tips before you begin to calibrate your monitor:
- Warm up your monitor for at least 30 minutes before beginning the calibration process.
- Make sure no direct light is falling on your display. It is best to work in a dimly lit environment for color critical work and desk lamps should be turned off.
- Reset monitor controls to the factory default settings.
- Deactivate any Auto Brightness or HDR/High-Brightness mode settings before you start calibrating.
Quick Start Guide
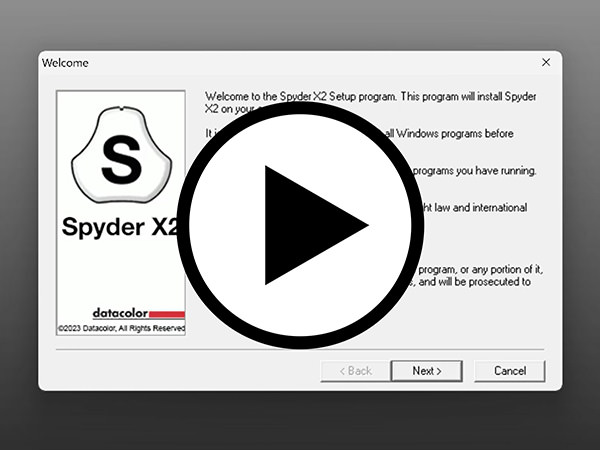
- Download and Install Software
- Plug in your device to launch software
- Begin activation/registration process (See the software serial number inside box beneath device)
- Calibrate (See step-by-step instructions below)
Spyder X2 Software Download
Review the Datacolor Software License.
All Spyder products include a “Site License”, for a single owner. This allows the owner to install and operate the software on all computers (Mac or Windows), as long as they are owned by the license holder. If the owner has several computers, he/she may operate the Spyder product on all of them. Activating on a computer the purchaser doesn’t own or operation as a service to others is prohibited.
Additional Support
If you have questions or comments, please Contact Us.
For additional support FAQs and resources, click here.
How to Calibrate Your Monitor
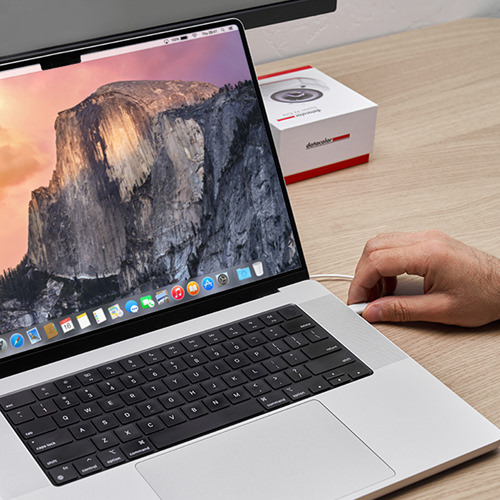
1. Plug in Spyder X2 Device
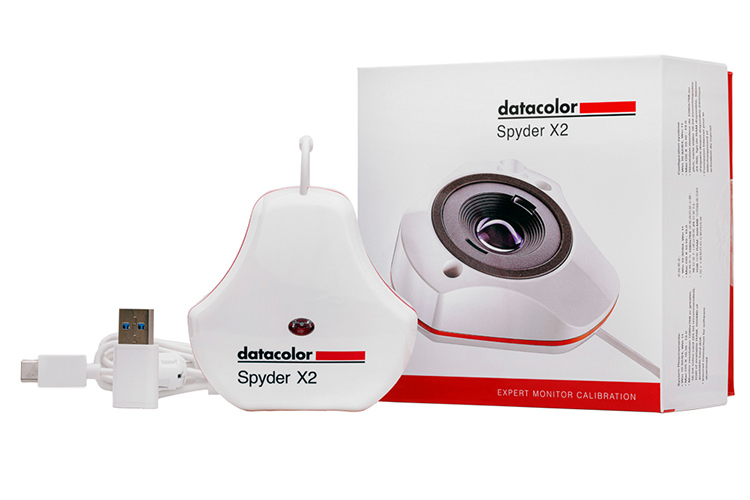
Your Spyder X2 includes a native USB-C port and comes with an additional USB-A adaptor for convenience. Follow the step-by-step instructions on the screen.
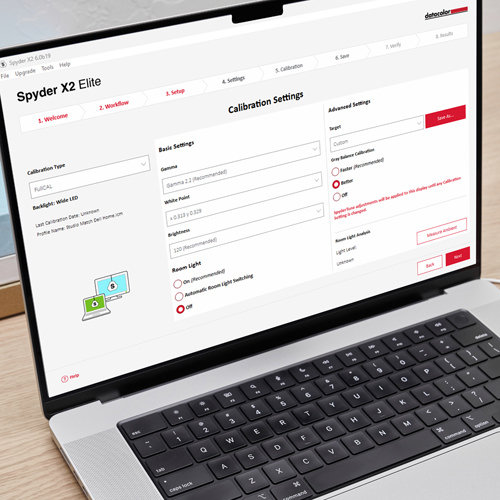
2. Open Spyder X2 Software
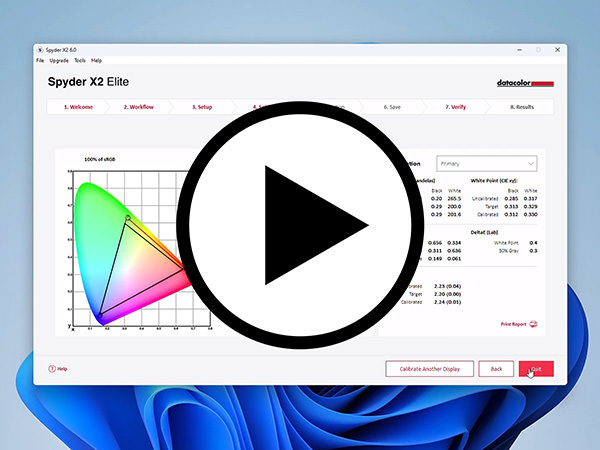
The Spyder X2 software will walk you through the calibration and display setup process in just two screens. Select the appropriate backlight technology and available controls for your display to ensure the most accurate calibration. Then configure the type of calibration (gamma curve, white point and luma level) to calibrate your display to fit your workflow needs.
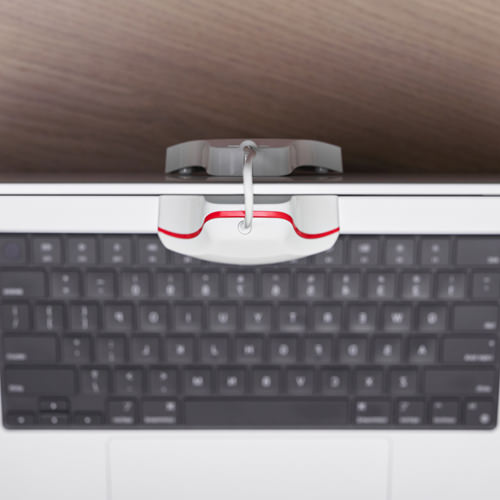
3. Placement of Your Spyder X2
Remove the lens cap from your Spyder X2 and hang the unit over your display, when prompted. The lens cap slides along the attached USB cable and is used as a counterweight to keep the Spyder X2 sensor in place on your screen. The device should sit flush on the monitor under its own weight, do not hold it against the screen. Tilt your screen back a bit, if necessary, to keep the device flat against your screen.
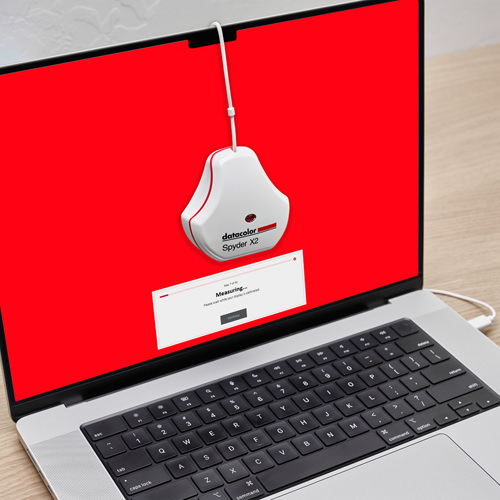
4. Calibrate
Spyder X2 software will then create a custom display profile that your computer’s operating system and color managed applications will use to correct your displayed colors. You can always return to your monitor’s default settings by simply deleting the calibrated profile.
Have questions along the way? Simply click onto the (?) icon for help with any feature of the software.

